
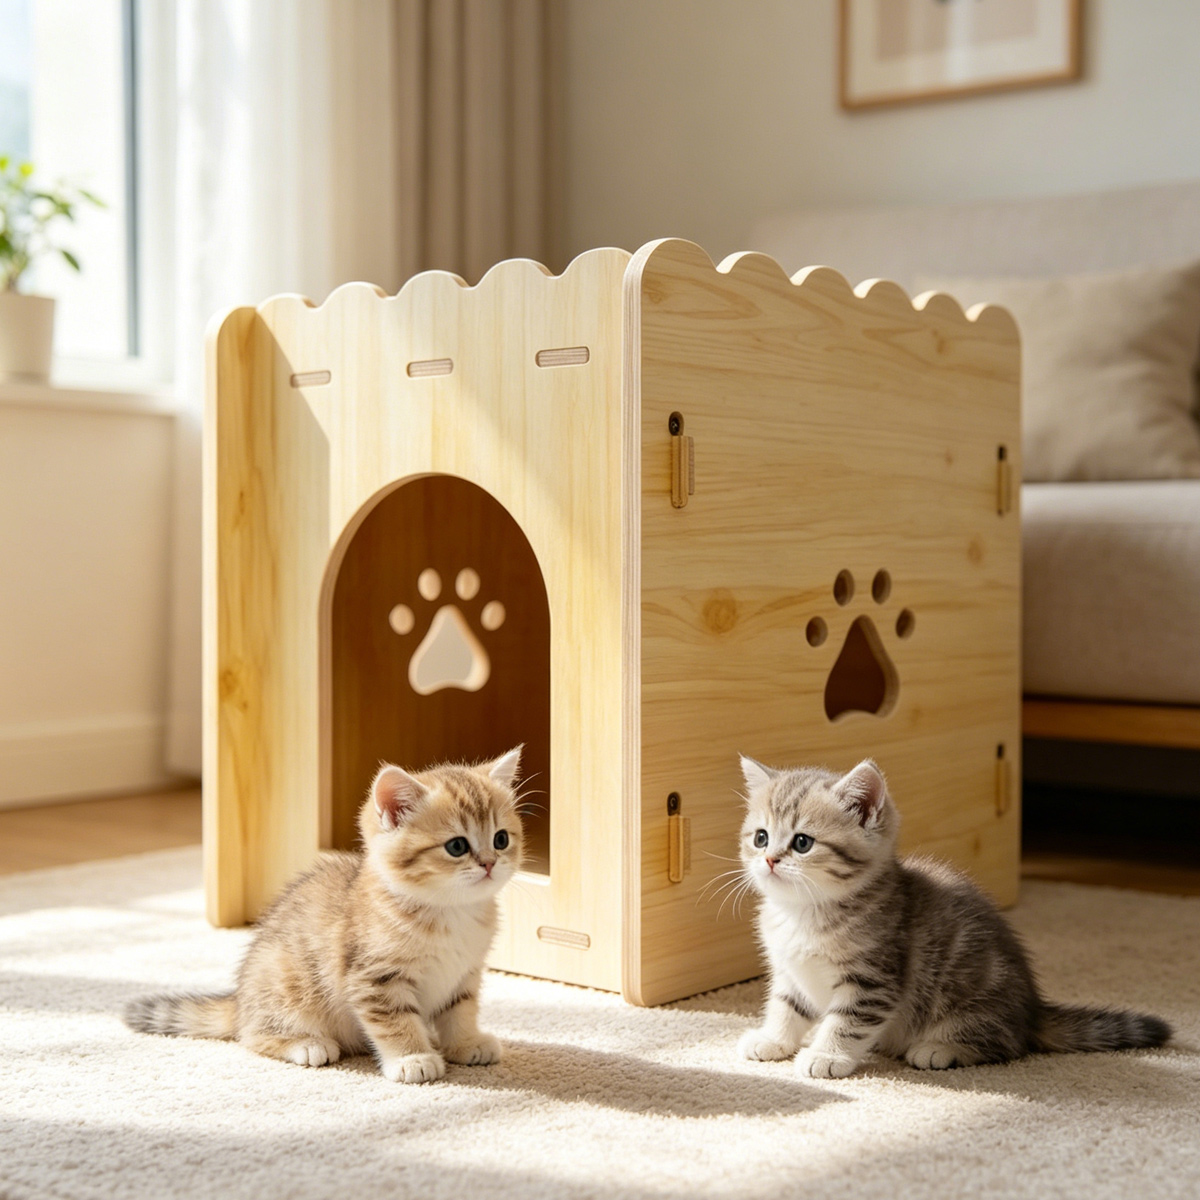
Scratching is a natural behavior for cats—it helps them sharpen their claws, stretch their muscles, and mark their territory. Without a proper scratching post, cats may turn to your furniture (such as sofas, chairs, or carpets) to satisfy this instinct, causing damage to your home. A DIY cat scratching post is an affordable, customizable solution that allows you to provide your cat with a dedicated scratching space using household materials. This complete tutorial covers easy-to-build homemade cat scratcher plans, so you can craft practical cat scratching post with household items without overspending. This guide will show you step-by-step how to make a simple, durable scratching post that your cat will love, with two different designs to suit different spaces and cat preferences.
DIY Design 1: Basic Cardboard Tube Scratching Post (Budget-Friendly)
This design is the simplest and most affordable, using cardboard tubes (such as toilet paper rolls or paper towel rolls) and a few other household items. It’s perfect for small spaces or cats that prefer a lightweight, easy-to-reach scratching surface.
Materials Needed (All Household Items)
① 5-8 empty cardboard tubes (toilet paper rolls or paper towel rolls cut into 10cm sections). ② A small cardboard box (for the base, size depends on the number of tubes). ③ Glue (white glue or hot glue gun, non-toxic). ④ Scissors. ⑤ Old rope, twine, or fabric strips (optional, for extra texture). ⑥ Catnip (optional, to attract your cat).
Step-by-Step Instructions
1. Prepare the cardboard tubes: If using paper towel rolls, cut them into 10cm sections. Make sure all tubes are clean and dry. If you want to add texture, wrap each tube with old rope, twine, or fabric strips, securing it with glue.
2. Prepare the base: Take the small cardboard box and cut off the top flaps. Fill the box with crumpled newspaper or cardboard to make it heavy and stable—this will prevent the scratching post from tipping over. Glue the bottom of the box closed to keep the filling inside.
3. Attach the tubes to the base: Apply glue to the bottom of each cardboard tube and place them evenly on top of the base. Press down gently to ensure they stick firmly. You can arrange the tubes in a circle, square, or random pattern—whatever you prefer.
4. Secure the tubes: If needed, wrap a piece of rope or twine around the top of the tubes to hold them together and add extra stability. Let the glue dry completely (about 1-2 hours).
5. Attract your cat: Sprinkle a small amount of catnip on the tubes to encourage your cat to use the scratching post. Place it in a spot where your cat likes to rest or play.
DIY Design 2: Wooden Stick Scratching Post (Durable and Stylish)
This design uses a wooden stick (such as a broom handle or tree branch) and a sturdy base, making it more durable than the cardboard tube version. It’s perfect for cats that love to scratch hard surfaces and for owners who want a more stylish, long-lasting scratching post.
Materials Needed (All Household Items)
① A wooden stick (broom handle, tree branch, or dowel, about 80-100cm long and 5-8cm in diameter). ② A sturdy base (heavy plastic container, wooden block, or large ceramic bowl). ③ Glue (wood glue or hot glue gun, strong and non-toxic). ④ Old rope or sisal rope (enough to wrap around the wooden stick). ⑤ Scissors. ⑥ Sandpaper (optional, to smooth the wooden stick). ⑦ Catnip (optional).
Step-by-Step Instructions
1. Prepare the wooden stick: If using a tree branch, remove any leaves, bark, or sharp edges. Use sandpaper to smooth the surface of the stick to avoid splinters that could hurt your cat. Cut the stick to your desired length (80-100cm is ideal for most cats).
2. Prepare the base: Choose a heavy base that will keep the scratching post stable. If using a plastic container or ceramic bowl, fill it with sand, stones, or concrete (let concrete dry completely if used) to add weight. If using a wooden block, it should be thick and heavy enough to prevent tipping.
3. Attach the stick to the base: Apply a generous amount of glue to the bottom of the wooden stick and insert it into the center of the base. If using a container, make sure the stick is centered and secure. Let the glue dry completely (follow the glue instructions, usually 2-4 hours).
4. Wrap the stick with rope: Start at the bottom of the stick and wrap the rope tightly around it, securing each turn with a small amount of glue. Continue wrapping until you reach the top of the stick, then cut the rope and glue the end to prevent it from unraveling.
5. Finish and attract your cat: If desired, sand the top of the stick to make it smooth. Sprinkle catnip on the rope to attract your cat. Place the scratching post in a prominent spot where your cat likes to scratch or play.
Tips for Making Your DIY Scratching Post More Appealing
To ensure your cat uses the DIY scratching post instead of your furniture, follow these tips:
① Choose materials that your cat likes: Some cats prefer rope or sisal, while others prefer cardboard or wood. Observe your cat’s preferences and use the appropriate material.
② Place the scratching post in a strategic spot: Cats often scratch near their resting areas or where they mark their territory. Place the post near your cat’s bed, sofa, or favorite window.
③ Reward your cat for using the post: When your cat uses the scratching post, praise them or give them a treat. This will reinforce the behavior and encourage them to use it again.
④ Replace worn materials: Over time, the rope or cardboard will wear out. Replace the rope or add new cardboard tubes to keep the post appealing.
Conclusion: A Simple, Affordable Solution for Your Cat’s Scratching Needs
Making a DIY scratching post is a fun, budget-friendly way to provide your cat with a dedicated scratching space. With just a few household items, you can create a durable, customizable post that your cat will love. Whether you choose the basic cardboard tube design or the more durable wooden stick design, your cat will appreciate having a place to satisfy their natural scratching instinct—while protecting your furniture. Remember to be patient and encourage your cat to use the post, and you’ll have a happy, healthy cat and a damage-free home.